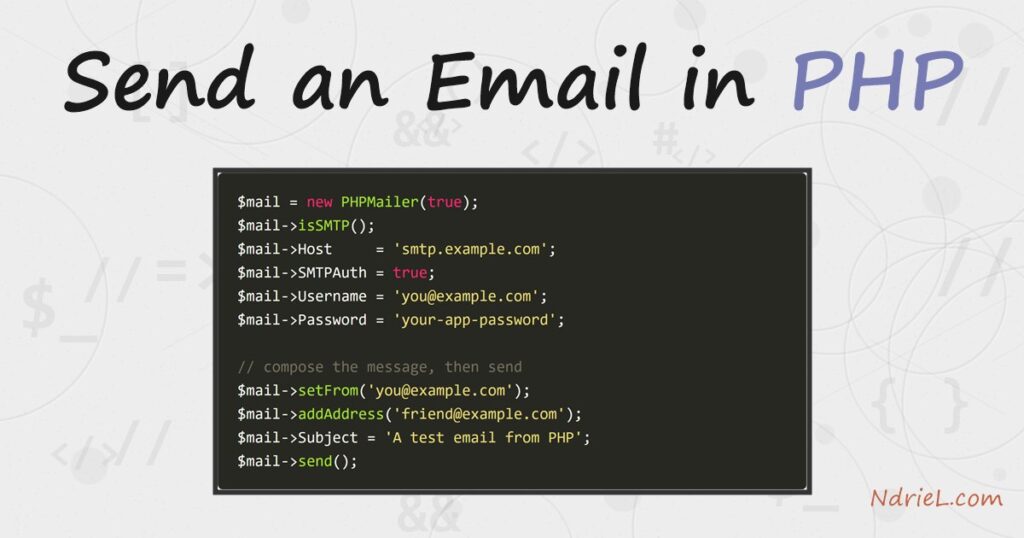
Learn how to send an email in PHP — first with the built-in
mail() function for the simplest case, then with
PHPMailer over authenticated SMTP so your messages carry an HTML
body, an attachment, and actually reach the inbox. We install PHPMailer with
Composer, configure the server with isSMTP()
and SMTPAuth, then build and dispatch the message
with send().
Requirements to send an email in PHP:
- PHP 8.5 (tested against 8.5.7; PHPMailer 7 needs PHP 5.5 or newer).
- Composer 2 — used to install and autoload PHPMailer.
- PHPMailer 7.1.1 — the version this tutorial was written against.
- An SMTP account you can authenticate with (your host’s mail server, a Gmail
app password, or a transactional service such as Mailgun or SendGrid).
How To Send an Email in PHP.
The objective is to send an HTML email with an attachment through an
authenticated SMTP server, and to fall back to mail()
only when a local mail transfer agent is already configured.
The simple case: send an email in PHP with mail().
If your server already has a working mail transfer agent (such as Postfix or
sendmail), a single call sends a plain-text message. Save this as
simple.php.
<?php
$to      = 'friend@example.com';
$subject = 'A test email from PHP';
$message = 'Hello! This is a plain-text message sent with mail().';
$headers = 'From: you@example.com' . "\r\n" .
           'Reply-To: you@example.com' . "\r\n" .
           'X-Mailer: PHP/' . phpversion();

if (mail($to, $subject, $message, $headers)) {
    echo 'Message accepted for delivery.';
} else {
    echo 'Message could not be sent.';
}
This works, but mail() has real limits: it needs
a local MTA configured on the server, it cannot authenticate against an external
SMTP account, and a “true” return only means the message was handed off — not that
it was delivered. Mail sent this way is frequently rejected or filtered to spam,
and building HTML bodies or attachments by hand is error-prone. For anything you
depend on, use PHPMailer.
Step 1.
Install PHPMailer with Composer. From your project folder, run:
composer require phpmailer/phpmailerThis downloads PHPMailer into vendor/ and generates
vendor/autoload.php, which loads the classes for you.
Step 2.
Create send-email.php. Require Composer’s autoloader, import the PHPMailer
classes, and create an instance. Passing true to
the constructor tells PHPMailer to throw exceptions on failure so you can catch them.
<?php
require 'vendor/autoload.php';

use PHPMailer\PHPMailer\PHPMailer;
use PHPMailer\PHPMailer\Exception;

$mail = new PHPMailer(true); // true = throw exceptions on failure
Step 3.
Configure the SMTP server inside a try block.
Replace the host, username, and password with your own SMTP credentials.
try {
    $mail->isSMTP();
    $mail->Host       = 'smtp.example.com';   // your SMTP host
    $mail->SMTPAuth   = true;
    $mail->Username   = 'you@example.com';     // SMTP username
    $mail->Password   = 'your-app-password';   // SMTP password
    $mail->SMTPSecure = PHPMailer::ENCRYPTION_STARTTLS;
    $mail->Port       = 587;
Where.
- isSMTP() – tells PHPMailer to send through SMTP rather than
mail(). - Host – your provider’s SMTP server address.
- SMTPAuth / Username / Password – log in to that server.
Use an app password, never your account’s main password. - SMTPSecure / Port –
STARTTLSon
port 587, orENCRYPTION_SMTPSon port 465.
Step 4.
Set the sender and recipient, then compose the message. Calling
isHTML(true) lets the body contain HTML;
AltBody is the plain-text version for clients that
cannot display it.
    $mail->setFrom('you@example.com', 'Your Name');
    $mail->addAddress('friend@example.com', 'Recipient Name');

    $mail->isHTML(true);
    $mail->Subject = 'A test email from PHP';
    $mail->Body    = '<h2>Hello!</h2><p>This message was sent with <b>PHPMailer</b>.</p>';
    $mail->AltBody = 'Hello! This message was sent with PHPMailer.';
Step 5.
Optionally attach a file, then send. Wrap the send in
catch so any failure reports the reason instead of
crashing.
    $mail->addAttachment('report.pdf'); // optional

    $mail->send();
    echo 'Email sent successfully.';
} catch (Exception $e) {
    echo "Email could not be sent. Mailer Error: {$mail->ErrorInfo}";
}
Complete Example.
<?php
require 'vendor/autoload.php';

use PHPMailer\PHPMailer\PHPMailer;
use PHPMailer\PHPMailer\Exception;

$mail = new PHPMailer(true); // true = throw exceptions on failure

try {
    // Server settings
    $mail->isSMTP();
    $mail->Host       = 'smtp.example.com';   // your SMTP host
    $mail->SMTPAuth   = true;
    $mail->Username   = 'you@example.com';     // SMTP username
    $mail->Password   = 'your-app-password';   // SMTP password
    $mail->SMTPSecure = PHPMailer::ENCRYPTION_STARTTLS;
    $mail->Port       = 587;

    // Sender and recipient
    $mail->setFrom('you@example.com', 'Your Name');
    $mail->addAddress('friend@example.com', 'Recipient Name');

    // Content
    $mail->isHTML(true);
    $mail->Subject = 'A test email from PHP';
    $mail->Body    = '<h2>Hello!</h2><p>This message was sent with <b>PHPMailer</b>.</p>';
    $mail->AltBody = 'Hello! This message was sent with PHPMailer.';

    // Optional attachment
    $mail->addAttachment('report.pdf');

    $mail->send();
    echo 'Email sent successfully.';
} catch (Exception $e) {
    echo "Email could not be sent. Mailer Error: {$mail->ErrorInfo}";
}
Run it from the command line with php send-email.php,
or load it in the browser.
Result of sending the email in PHP.
PHP prints the success line, and the SMTP server receives a complete MIME message:
the HTML body, its plain-text alternative, and the base64-encoded attachment, stamped
with an X-Mailer: PHPMailer 7.1.1 header. The transcript below is a real send
captured against a local SMTP server.
$ php send-email.php
Email sent successfully.

---- message received by the SMTP server ----
Date: Sat, 18 Jul 2026 01:57:26 +0000
To: Recipient Name <friend@example.com>
From: Your Name <you@example.com>
Subject: A test email from PHP
Message-ID: <th7gEK3uM6zgtyjQCXnOsA9hjoATJTGiUEmutOaeVg@Clea>
X-Mailer: PHPMailer 7.1.1 (https://github.com/PHPMailer/PHPMailer)
MIME-Version: 1.0
Content-Type: multipart/mixed; boundary="b1=_th7gEK3uM..."

--b1=_th7gEK3uM...
Content-Type: text/plain; charset=us-ascii

Hello! This message was sent with PHPMailer.

--b1=_th7gEK3uM...
Content-Type: text/html; charset=us-ascii

<h2>Hello!</h2><p>This message was sent with <b>PHPMailer</b>.</p>

--b1=_th7gEK3uM...
Content-Type: application/pdf; name=report.pdf
Content-Transfer-Encoding: base64
Content-Disposition: attachment; filename=report.pdf

JVBERi0xLjQKMSAwIG9iajw8L1R5cGUvQ2F0YWxvZz4+ZW5kb2Jq...
--b1=_th7gEK3uM...--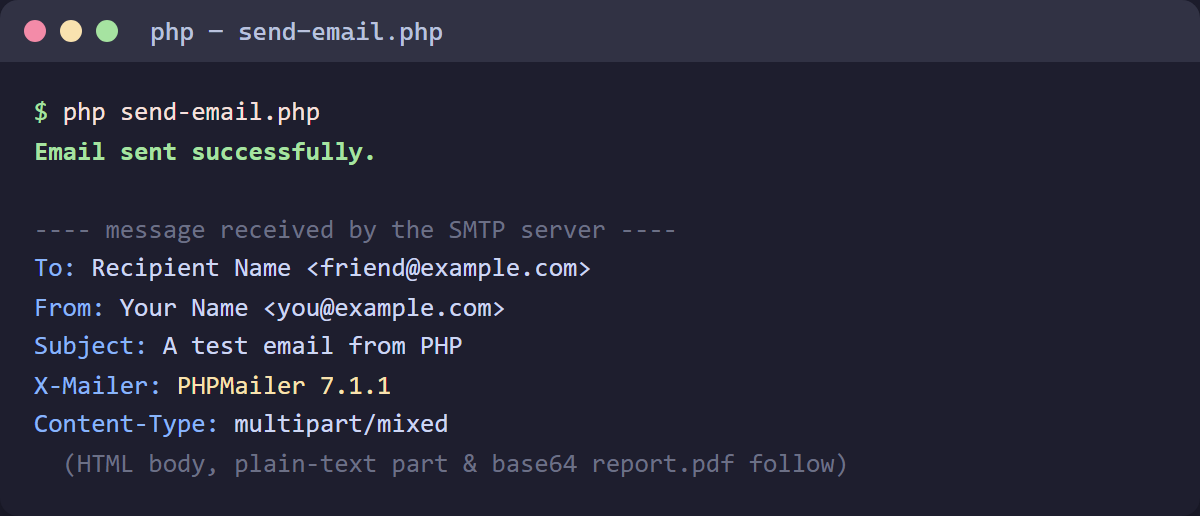
Notes on sending an email in PHP:
- Keep credentials out of your code. Read the SMTP username and password from
environment variables or a config file that lives outside the web root, so they are
never committed or served. - Use an app password, not your real mailbox password. Gmail and most
providers issue app-specific passwords for exactly this. - Set
$mail->SMTPDebug = SMTP::DEBUG_SERVER;while
troubleshooting to see the full client/server conversation, then remove it in
production. - Send from an address on a domain you control, with SPF and DKIM records set up.
This is what keeps authenticated mail out of the spam folder. - Never build recipient addresses or headers directly from unfiltered user input —
that opens the door to email header injection. PHPMailer validates addresses for you. - This tutorial pins PHPMailer 7.1.1, but the code above is unchanged on the
still-widely-deployed 6.x line —isSMTP(),
SMTPAuth,setFrom(),
addAddress(), andsend()
work the same on both. If you are on a plain PHP project, PHPMailer is the standard
choice; inside a framework, prefer its own mail layer (Laravel’s Mail or
Symfony Mailer) instead. Avoid the abandoned SwiftMailer for new code. - The attachment is usually something your app produced or received. You might create a PDF in PHP and send it, or email a file a visitor just handed you — see how to upload a file in PHP.