Learn how to create a simple Hello World! example with Laravel using the Blade templating language.
Set a variable and pass it from the web router application to a View which is a separate HTML file. Wrap the variable in curly braces in Blade View to display the passed data.
This approach is advantageous to make your work more effective and efficient by placing all of the HTML in separate files, allowing you to work with your controller / application logic independently.
Requirements
- Laravel – 10x at the time of writing
The goal of this tutorial is to create a simple Hello World! example with Laravel using the Blade templating language where the data will come directly from the web application router (routes).
If you don’t know how to install Laravel yet, check out the tutorial How To Install Laravel On Windows for a quick overview about installing Laravel on Windows.
Step 1.
Create a new file inside resources/views folder and save it as hello-world.blade.php.
<html>
    <body>
        <h1>Hello, {{ $name }}</h1>
    </body>
</html>
Where.
$name – is the variable passed from the router wrapped in curly braces.
Step 2.
Last step.
Open the file routes/web.php, and change the default return view of the root directory route.
Change this.
Route::get('/', function () {
    return view('welcome');
});
Into this.
Route::get('/', function () {
    return view('hello-world', ['name' => 'World!']);
});
Where.
- hello-world – represents the name of the new blade template we have created (hello-world.blade.php).
- World! – is the value of the $name variable that will be displayed to the Blade View template.
Test.
Run the server.
php artisan serveResult.
Check the home page.
http://localhost:8000/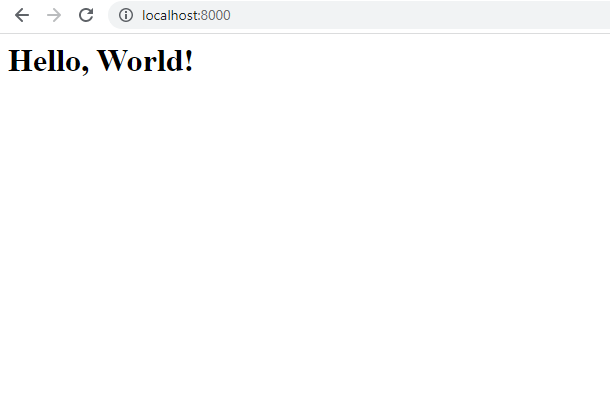
Notes:
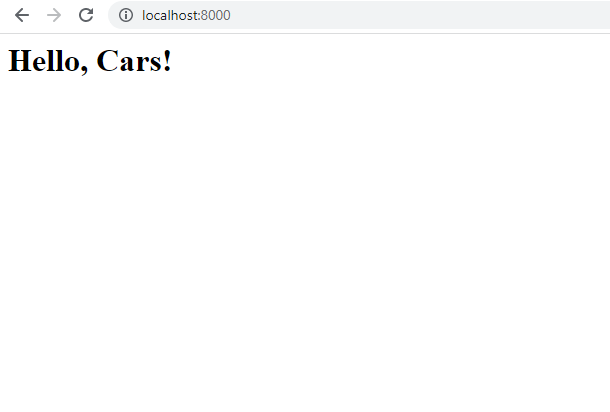
You can change the value of $name to what ever you like.
- For example, I would like to display Hello, Cars! instead.
-
return view('hello-world', ['name' => 'Cars!']);
Leave a Reply