Learn how to install Laravel on windows with composer.
Create a web application with Laravel framework that provides a structure and starting point. Laravel provides powerful features such as thorough dependency injection, an expressive database abstraction layer, queues and scheduled jobs, unit and integration testing, and more
This article will discuss the basic process of installing Laravel web framework on windows so you can create your own CMS or other web application.
Requirements:
- PHP
- Composer
- Node and NPM
PHP.
Laravel is a PHP web framework, therefore you will be needing PHP on your local machine to power-up Laravel. While it is easy to install PHP on windows – https://php.net/, I suggest you install a PHP development environment package instead. This includes a DATABASE, HTTP Server, and PHP, all in one installation. Check out XAMPP, the most popular PHP development environment. https://www.apachefriends.org/
If you are just starting-up as a web developer, I am quite sure that along your web developing journey, you will be encountering about DATABASE and HTTP Server as well, better to have yourself equipped with some knowledge about those things this early. On the other hand, if you are an experienced web developer, you can use any development environment set up you are comfortable with, just ensure that your local machine has PHP.
Composer.
Composer is a dependency manager for PHP. It will manage (install/update) the declared libraries Laravel depends on for you. Check it here – https://getcomposer.org/.
Node and NPM.
We will be compiling the application’s frontend assets using NPM. NPM (Node Package Manager) is the default package manager for the JavaScript runtime environment Node.js – https://nodejs.org/en
Install Laravel.
Now that the requirements are prepared, we are ready to install Laravel.
Step 1.
Create a new Laravel project via the Composer create-project command.
composer create-project laravel/laravel my-cmsWhere.
- my-cms – is the name of the directory where the Laravel application will be installed.
Laravel will attempt to create this directory for you if it is not existing.
After that, your my-cms Laravel application is now ready, but this is without the authentication features yet. You can test it with the following.
Navigate inside your application folder.
cd my-cmsStart the artisan development server.
php artisan serveOnce started, your my-cms Laravel application will be accessible in your web browser at the following.
- http://localhost:8000
- http://127.0.0.1:8000
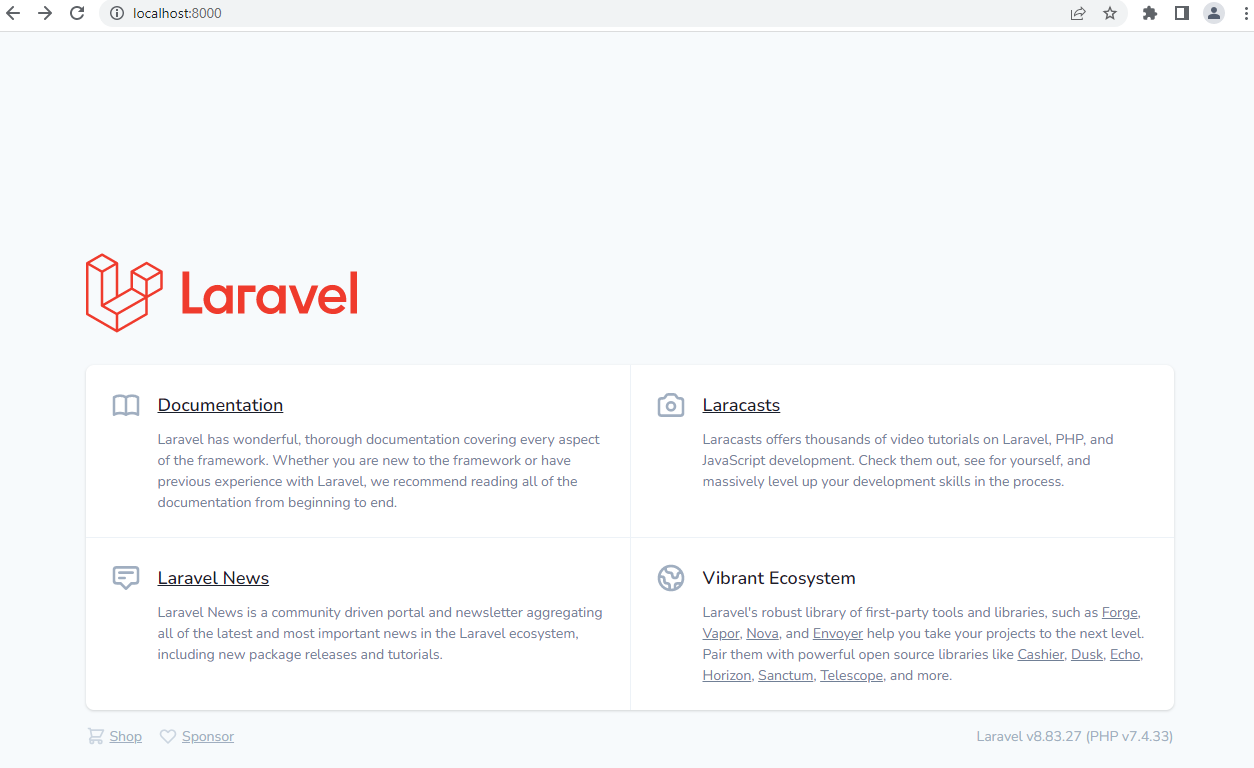
Notice that there are no Log in and Register links at the upper right corner of the page yet. This is because we don’t have the authentication features yet, later at the result part when the authentication features are added, those links will automatically appear at the upper right corner of the page.
Press Ctrl + C to stop the server.
Step 2.
Breeze and Blade
Common CMS are developed with backend and frontend authentication. This will allow you to login into your system and manage your content through an authenticated pages. Let us take advantage of one of the Laravel starter kits to provide the backend and frontend authentication scaffolding for your new my-cms Laravel application.
There are several ways to implement Laravel’s authentication features, and for this tutorial, let use the minimal and simple implementation. It will also include all of the following Laravel’s authentication features.
- Login
- Registration
- Password reset
- Email verification
- Password confirmation
Install the Laravel Breeze package.
Make sure you are inside the my-cms directory.
composer require laravel/breeze --devStep 3.
Publish the authentication views, routes, controllers, and other resources to your application.
php artisan breeze:installStep 4.
Prepare the DATABASE.
Create a DATABASE (if you don’t have one ready yet), open the .env file and update the following.
DB_DATABASE=laravel
DB_USERNAME=root
DB_PASSWORD=
Step 5.
Run DATABASE migration.
php artisan migrateThis will create the TABLEs needed for authentication features, below are some of the TABLEs that will be created.
- users
- password_resets
- personal_access_tokens
Step 6.
Last step.
Compile your application’s frontend assets.
npm installnpm run devResult.
Your my-cms Laravel application with authentication features is now installed.
Start the artisan development server.
php artisan serveCheck home page.
http://localhost:8000/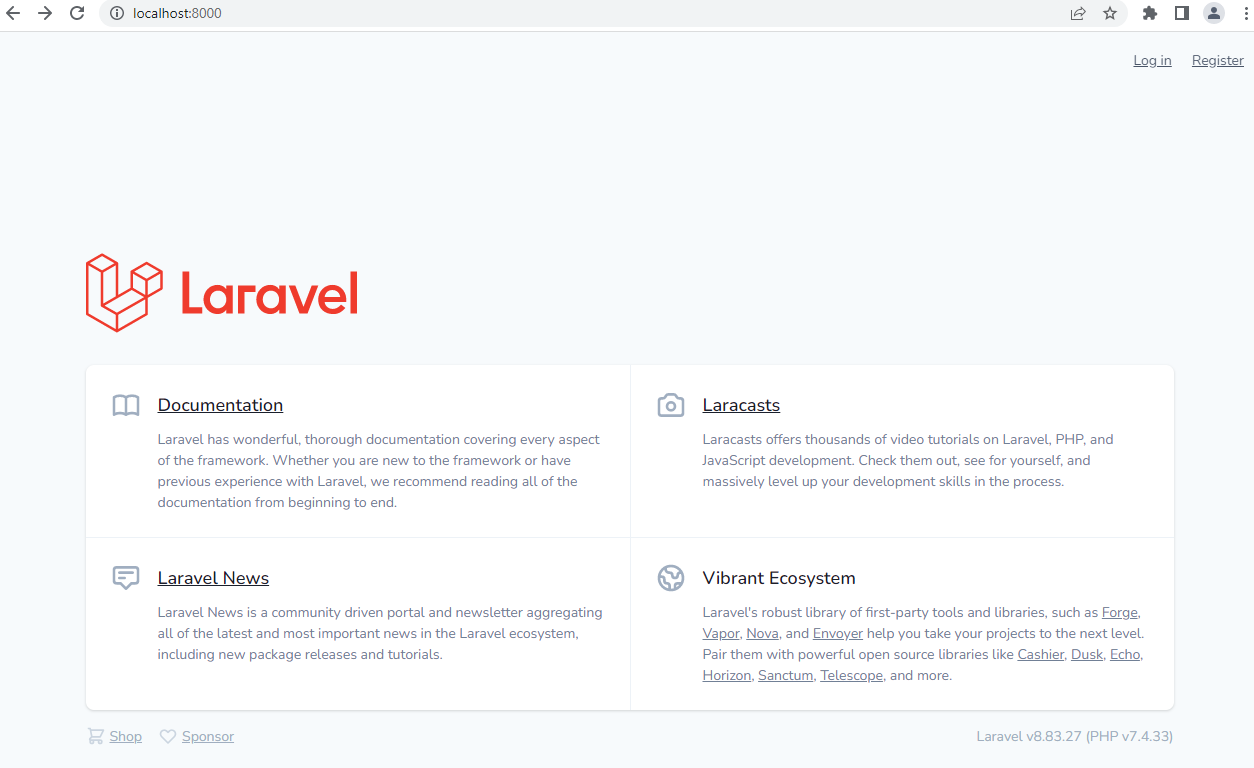
Check login page.
http://localhost:8000/login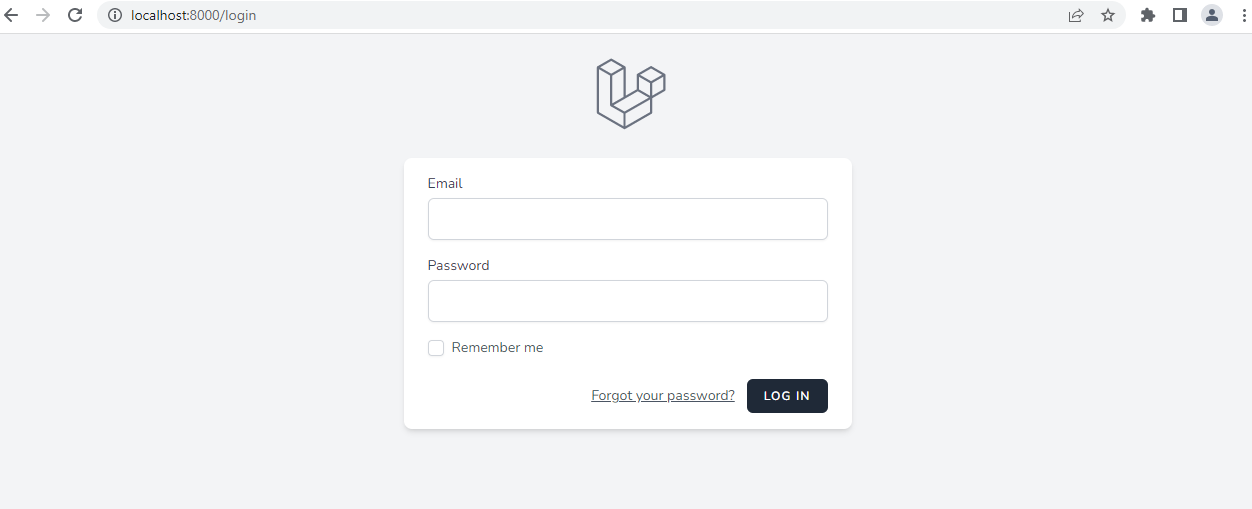
Check register page.
http://localhost:8000/register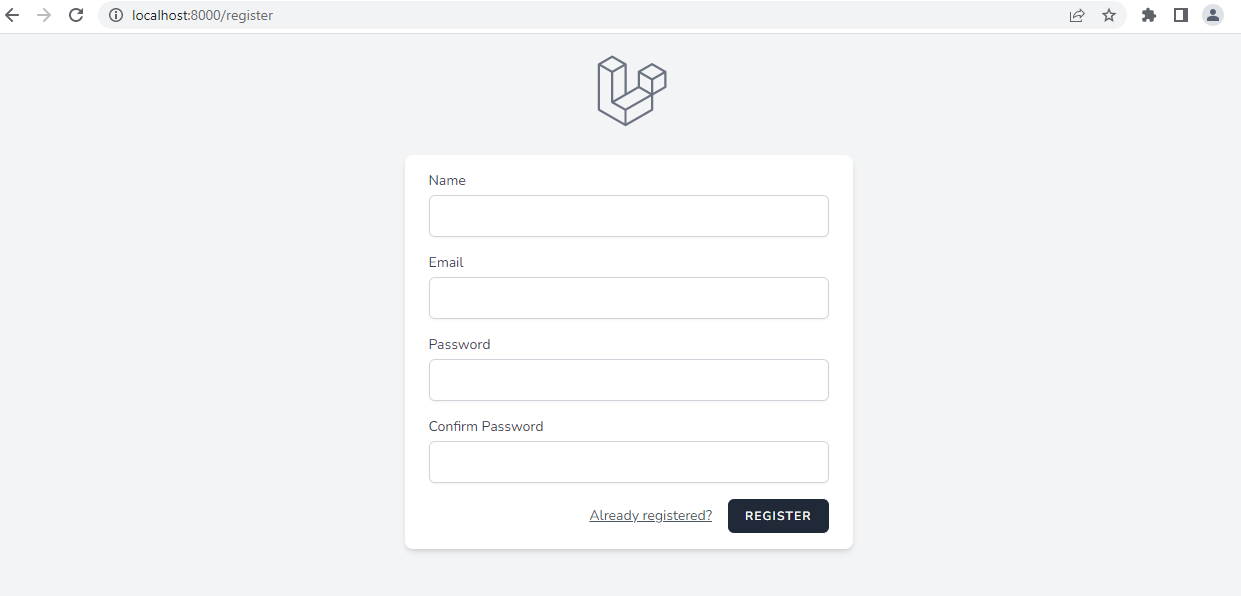
Summary.
composer create-project laravel/laravel my-cmscd my-cmscomposer require laravel/breeze --devphp artisan breeze:installUpdate DATABASE config (.env file).
php artisan migratenpm installnpm run devphp artisan servePossible issues.
- The Laravel @vite directive is not working.
This might be a Laravel and Breeze compatibility issue, try to specify the Breeze version by using the following when installing the Laravel Breeze package (Step 2).
composer require laravel/breeze:1.9.4
Leave a Reply