Install WordPress locally on your own machine and you get a private sandbox. There you can build themes, test plugins, and break things without touching a live site. The quickest way to get there on Windows is XAMPP, a free bundle that installs the whole stack WordPress needs — Apache, MariaDB (a MySQL drop-in), PHP, and phpMyAdmin — in one step. This tutorial installs XAMPP, creates a database, and runs the famous WordPress five-minute installer so you finish with a working site at http://localhost/mysite and a login to its dashboard.
Requirements to install WordPress locally:
- Windows 10 or 11.
- XAMPP for Windows (tested on XAMPP 8.2.12 — Apache 2.4.58, MariaDB 10.4.32, PHP 8.2.12).
- WordPress (tested on WordPress 7.0.2; needs PHP 7.4+ and MySQL 5.5.5+/MariaDB, both covered by XAMPP).
- About 1 GB of free disk space and permission to install software.
How To Install WordPress Locally on Windows.
The objective is to install WordPress locally on an Apache/MariaDB/PHP stack, give it an empty database to live in, and run its installer so the site loads at http://localhost/mysite.
Step 1.
First, download the XAMPP for Windows installer from apachefriends.org and run it. Accept the defaults; the standard install path is C:\xampp. You can untick the components you will not use (Tomcat, Perl, FileZilla, Mercury) — you only need Apache, MySQL, PHP, and phpMyAdmin. If Windows Firewall prompts, allow Apache on private networks.
Step 2.
Next, open the XAMPP Control Panel and click Start next to both Apache and MySQL. Their names turn green when they are running. Confirm Apache is serving by visiting http://localhost — the XAMPP welcome page means the web server is up.
Apache   running   Port(s) 80, 443
MySQL    running   Port(s) 3306
However, if Apache refuses to start, another program is usually holding port 80 (often IIS, or Skype on older setups). Stop that program, or change Apache’s port in Config → httpd.conf.
Step 3.
WordPress needs an empty database. Open http://localhost/phpmyadmin, click the Databases tab, type wordpress as the database name, choose the utf8mb4_general_ci collation, and click Create. On a default XAMPP install the MySQL user is root with an empty password — note that, because WordPress asks for it next.
Step 4.
Then, download the latest WordPress from wordpress.org/download and unzip it. It extracts to a folder named wordpress. Move that folder into XAMPP’s web root, C:\xampp\htdocs, and rename it to mysite — the folder name becomes the URL, so the site will live at http://localhost/mysite.
C:\xampp\htdocs\mysite\
    wp-admin\
    wp-content\
    wp-includes\
    index.php
    wp-config-sample.php
    ...
Step 5.
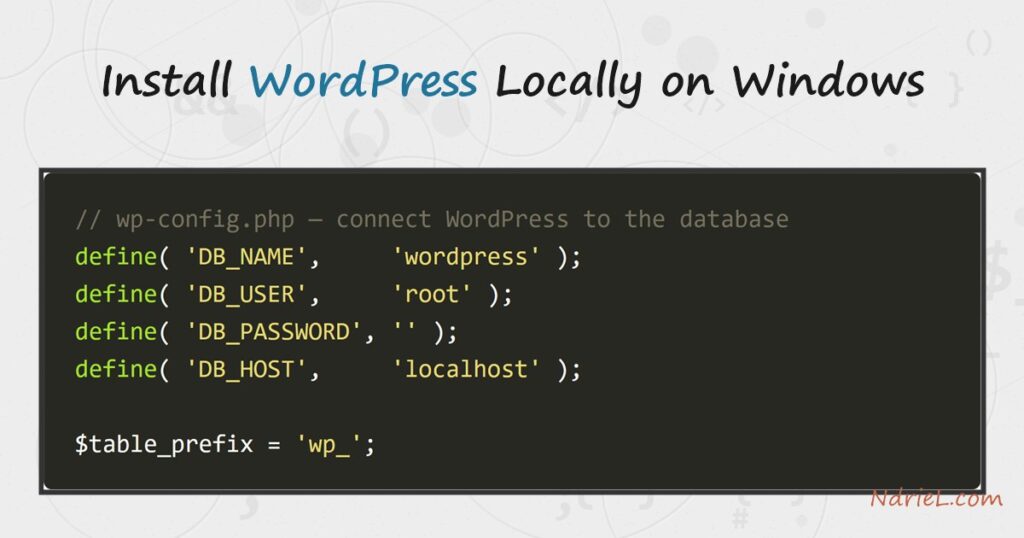
Visit http://localhost/mysite in your browser. WordPress detects it has no configuration yet and launches its setup wizard. Pick your language, then fill in the database details from Step 3 on the connection screen:
Database Name    wordpress
Username         root
Password         (leave blank)
Database Host    localhost
Table Prefix     wp_
WordPress writes these into a new wp-config.php for you. If it cannot create the file (a permissions quirk on some setups), it shows the file’s contents to paste manually — copy wp-config-sample.php to wp-config.php and drop them in.
Step 6.
Finally, click Run the installation. On the final screen give the site a title and create your administrator account — a username, a strong password, and your email. Submit it, then click Log In and sign in at http://localhost/mysite/wp-admin.
Result of installing WordPress locally.
Your site is live. Visit http://localhost/mysite and WordPress serves its default theme with the sample “Hello world!” post — proof the install works end to end. The admin lives at http://localhost/mysite/wp-admin, where the account you created in Step 6 opens the dashboard. A quick request from the command line confirms the server is answering and identifies itself as WordPress (the rel="https://api.w.org/" link is the REST API WordPress advertises on every page):
C:\> curl -I http://localhost/mysite/

HTTP/1.1 200 OK
Content-Type: text/html; charset=UTF-8
Link: <http://localhost/mysite/index.php?rest_route=/>; rel="https://api.w.org/"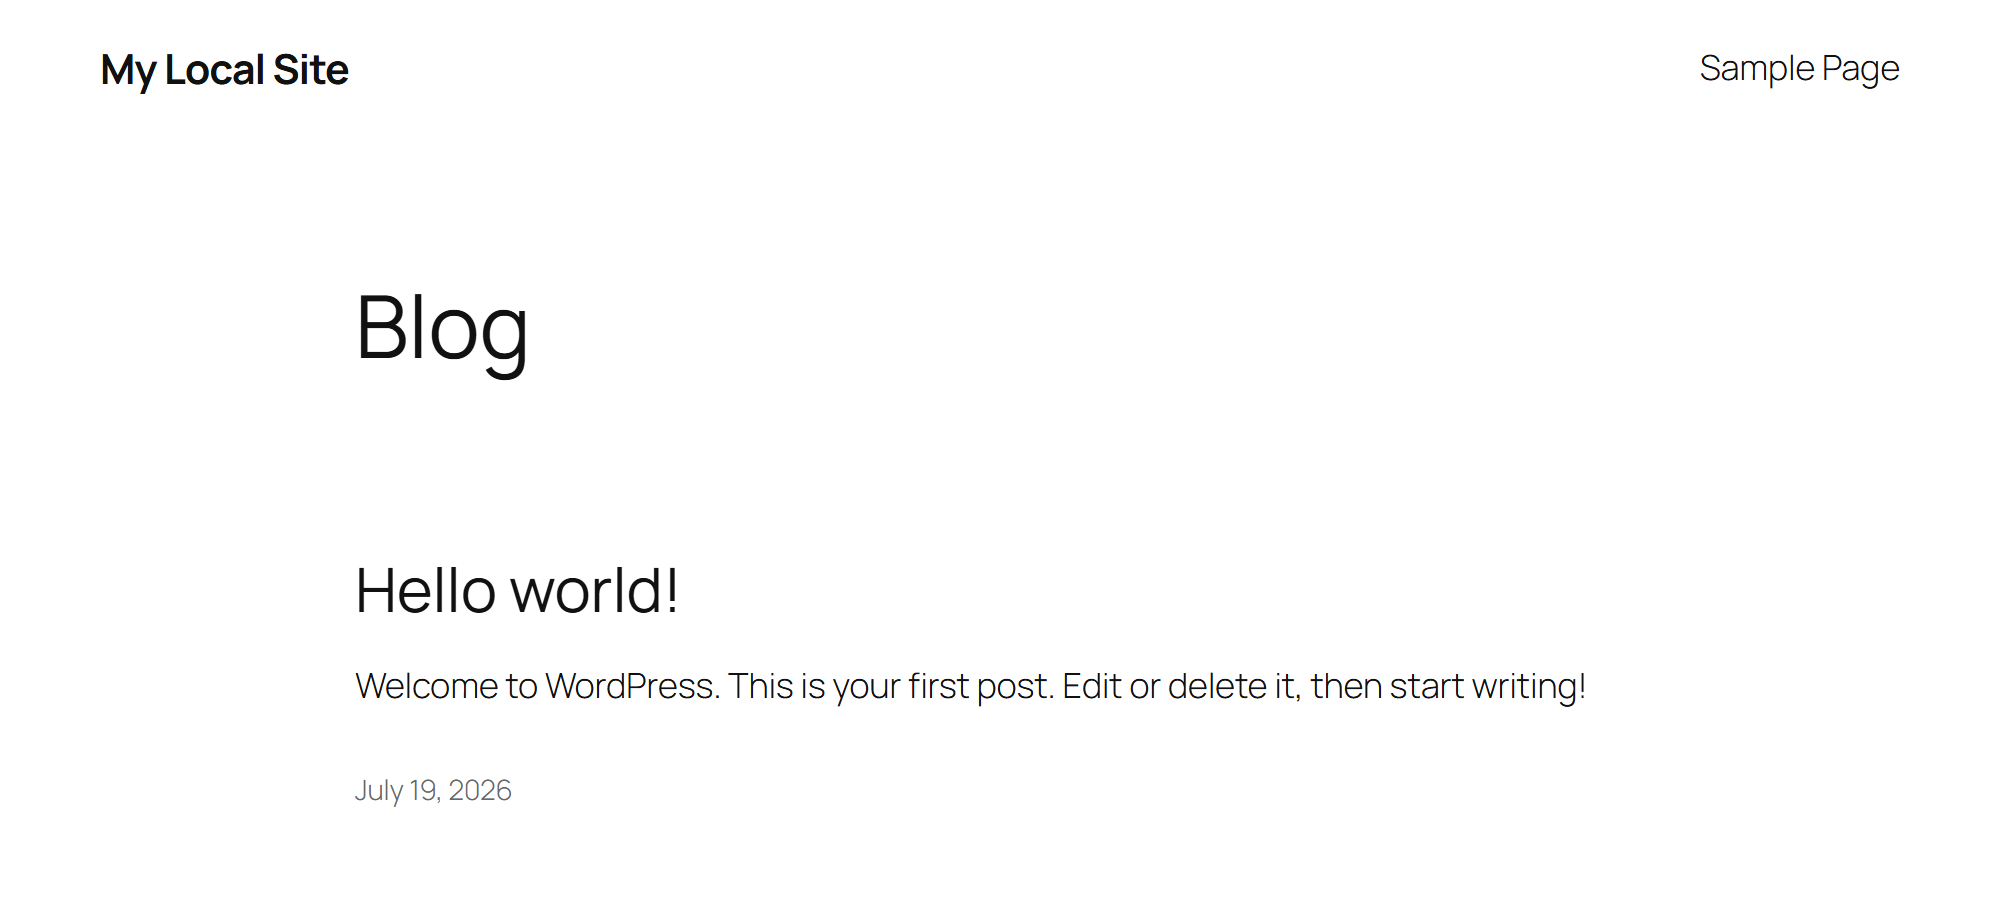
Notes on installing WordPress locally:
- Start Apache and MySQL from the XAMPP Control Panel each time you reboot — they do not auto-start unless you install them as Windows services (there are checkboxes for that in the panel).
- The default root account with a blank password is fine for local development only. Therefore, never expose a machine configured this way to the internet.
- Local email does not send — XAMPP has no mail server, so password-reset and notification emails silently fail. Note your admin password when you create it, or install a plugin that logs mail to a file.
- To run more than one site, drop each in its own folder under htdocs (htdocs\blog, htdocs\shop) with its own database. Each answers at http://localhost/<folder>.
- Prefer a friendlier URL like http://mysite.local? Add an Apache virtual host and a matching line in C:\Windows\System32\drivers\etc\hosts — that is the next step once the basic install works.
- With WordPress running on your own machine you have a safe sandbox to build in — try your hand at a shortcode in WordPress, or register a custom post type.