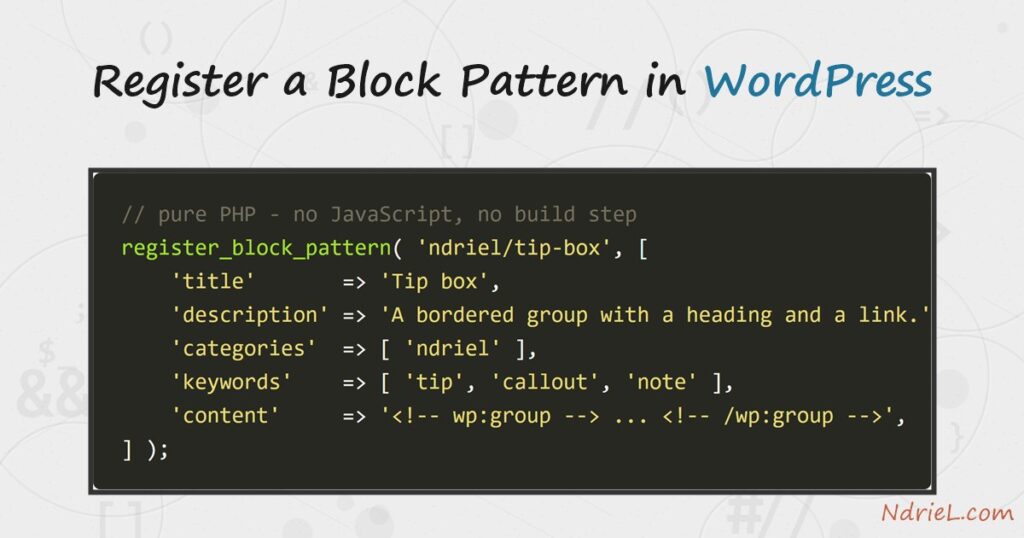
A block pattern is a ready-made arrangement of blocks the author drops into a post in one click. First, register_block_pattern() names the pattern and supplies its markup. Next, register_block_pattern_category() gives it a home in the inserter. Then the markup itself is ordinary block HTML, so no JavaScript is involved. Finally, inserting the pattern copies those blocks into the post, where the author edits them freely.
This is part four of the block series, and the only part with no JavaScript at all. Earlier parts covered creating a custom Gutenberg block without a build step and rendering a block from PHP.
Requirements for a block pattern:
- WordPress 6.7 or newer (tested on WordPress 7.0.4).
- PHP 8.0 or newer (tested on PHP 8.5.7).
- Any plugin or theme functions.php where you can hook
init. - No build tool and no JavaScript.
How To Register a Block Pattern in WordPress.
The objective is a Tip box pattern: a group holding a heading, a short paragraph and a link. It lands in its own inserter category.
Step 1.
First, build the arrangement in the editor. Add the blocks you want, select them all, then choose Copy from the options menu. The clipboard now holds the block markup.
<!-- wp:group {"className":"ndriel-tip"} -->
<div class="wp-block-group ndriel-tip"><!-- wp:heading {"level":3} -->
<h3 class="wp-block-heading">Before you start</h3>
<!-- /wp:heading -->

<!-- wp:paragraph -->
<p>Check the requirements first.</p>
<!-- /wp:paragraph --></div>
<!-- /wp:group -->
Building it in the editor matters. Because the markup must parse as valid blocks, copying real output beats writing it by hand.
Step 2.
Next, register a category so the pattern is easy to find. Without one it lands in Uncategorized among the theme’s patterns.
add_action( 'init', function () {
	register_block_pattern_category( 'ndriel', array(
		'label' => 'NdrieL',
	) );
} );
Step 3.
Then register the pattern itself on the same hook. The content key holds the markup from step 1.
register_block_pattern( 'ndriel/tip-box', array(
	'title'       => 'Tip box',
	'description' => 'A bordered group with a heading, a short tip and a link.',
	'categories'  => array( 'ndriel' ),
	'keywords'    => array( 'tip', 'callout', 'note' ),
	'content'     => '<!-- wp:group {"className":"ndriel-tip"} -->
<div class="wp-block-group ndriel-tip"><!-- wp:heading {"level":3} -->
<h3 class="wp-block-heading">Before you start</h3>
<!-- /wp:heading -->

<!-- wp:paragraph -->
<p>Check the requirements first. Every tutorial on this site lists the exact versions it was tested against.</p>
<!-- /wp:paragraph -->

<!-- wp:paragraph -->
<p><a href="https://ndriel.com/">Browse the tutorials</a></p>
<!-- /wp:paragraph --></div>
<!-- /wp:group -->',
) );
Note the name format. A pattern name needs a namespace prefix, so ndriel/tip-box works while tip-box is rejected.
Step 4.
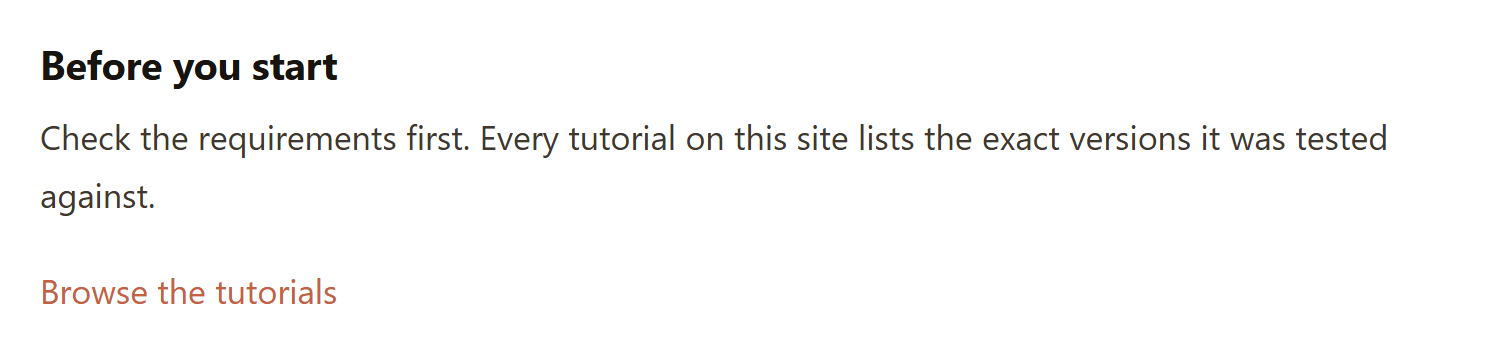
Finally, open the inserter and choose the Patterns tab. The new NdrieL category appears, and the pattern previews inside it.

Result of the block pattern.
Click the preview and WordPress copies those blocks into the post. From then on they are normal blocks, so nothing links them back to the pattern.
Notes on the block pattern:
- A pattern is a starting point, not a live template. Therefore editing the registered markup later leaves existing posts untouched.
- Use a synced pattern (formerly a reusable block) when every copy must change together. That is stored as a post, not registered in code.
- Invalid markup fails quietly. So if the pattern shows nothing, paste the content into a post first and check the editor accepts it.
- Patterns can include your own blocks. The Notice block from part one works here just as well as a core block.
- Style the wrapper with a class you control, as
ndriel-tipdoes above. That keeps the CSS independent of core’s markup, which changes between releases.